I had a email request for help with the wings on the Eagle pattern. I had a look at them and thought I understood, but thought I'd make sure I was right. I was glad I did because it turned out to be more complicated than I was thinking it was. This is one of the most advanced patterns on the site.
 |
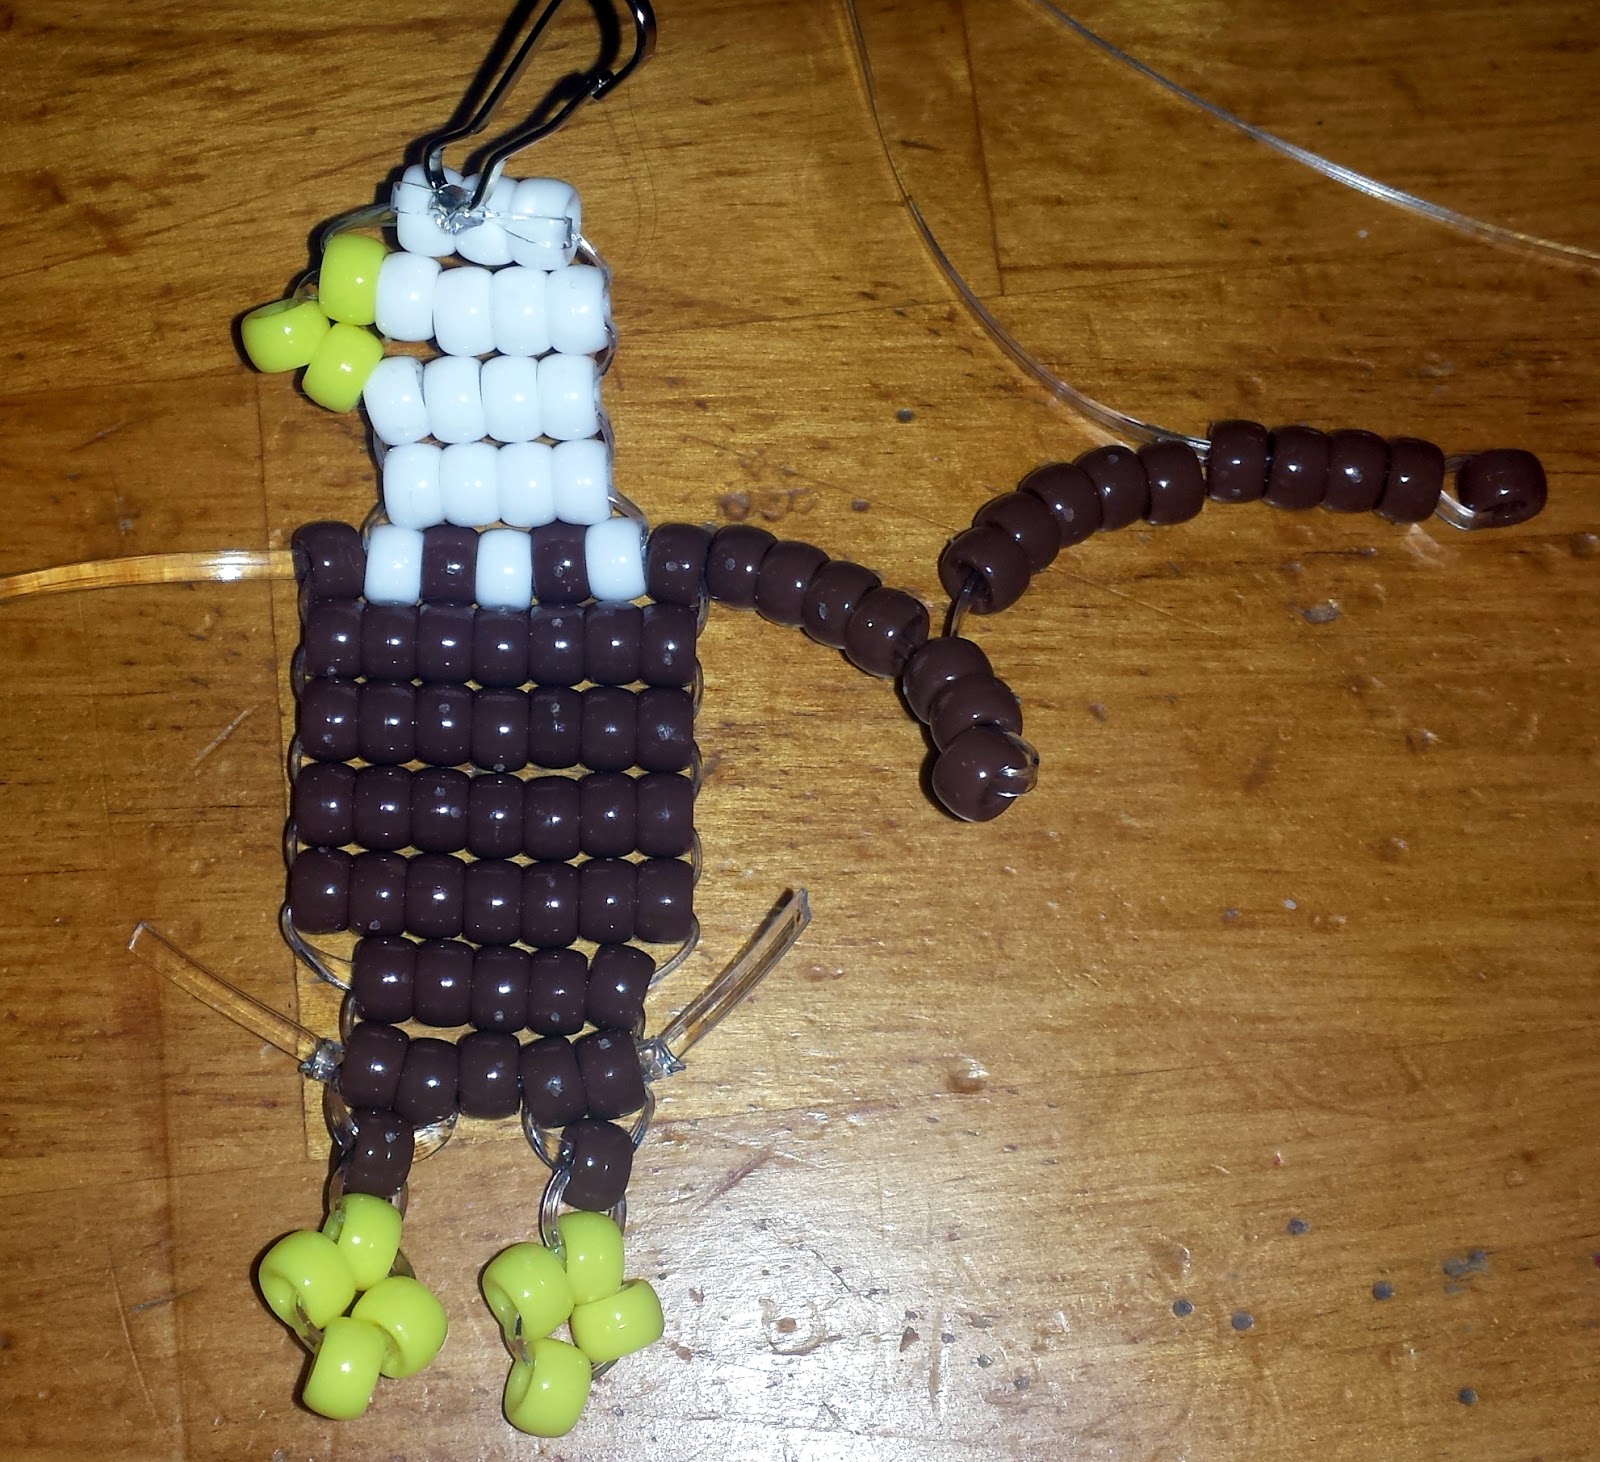
| The completed Eagle beadie. |
I took pictures throughout the process of doing one of the wings and sent them to the person who emailed me. I decided to put them here on my blog as well, so that it can help others.
The first part is the easy part. Do the entire body of the eagle (head down to the feet) with no wings. Finish off the body. Then, take the 2nd string that the instructions call for and slide it through row 5 (the one that is brown-white-brown-white etc.) so that it is even on both sides.
All of these next instructions will be with brown beads. We will work with only one side of the string, so it will make one wing.
Add 7 beads. Go back through 2 beads. Then add 10 beads. Go back through 4 beads.
Now add 8 beads and go back through 5.
Now you will start the final shaping of the wing. Go back up through the 2nd bead that is currently
loose.
Then take the string down through the next two loose beads.
Add 4 more beads and go back up through three of
them.
Then back up through the next three loose beads.
Then down through the final 4 loose beads.
Finally take the remaining string through row 8 of the body of
the eagle.
Repeat this process to do the wing on the other side. Finish off both of these strings.
In the picture below I've numbered the strings in the order you will put them on. The blue string indicates the part where you are adding beads and going away from the body of the eagle. Then the red string is where you're heading back toward the body. I hope this explanation is helpful for those who may wish to try making an Eagle.


.jpg)